
Toronto at Night - Timelapse
Toronto at Night - Timelapse
Finally I got to upload my first timelapse/hyperlapse video. I started taking these timelapses exactly two years ago. I knew it would take me some time to edit them and put them together but I didn’t expect this long. It was mostly due to lack of time. I didn’t have enough shots to fill up a 2 to 3 minute video, and I didn’t have time to go out and shoot more, and then the winter would come and it would make it impossible to go out and shoot. So little by little I collected enough shots for a full video and here they are.
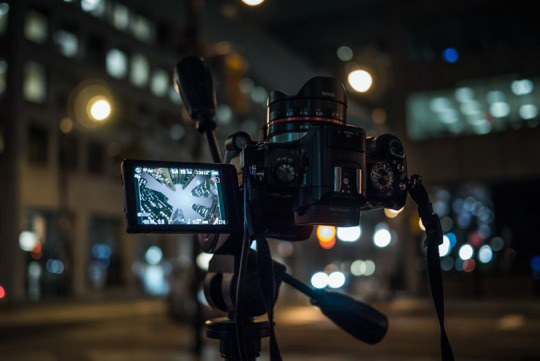
I shot most of them with my micro four thirds Panasonic Lumix GX1. That was the main purpose that I bought it for. I have also a Lumix GH2 but I didn’t want to wear out the shutter by taking so many pictures, and this GX1 I got for $200 bucks so I wouldn’t mind if it broke. I did use my GH2 in like 3 or 4 shots. I had to use it because I really needed the flip-out screen when shooting in some difficult angles and I need to see where I was pointing at.
Since the beginning I had in mind to make the video at 4K and all at night. The GX1 shoots raw at 16 megapixels, so the thought of shooting raw 4K “video” was exciting. Most cellphones do timelapses now. But most of them suck at low light. Shooting raw and at night would allow me to give it a higher-end look while still being low budget. (Plus I’ve always liked shooting at night, check out my London video shot all at night)
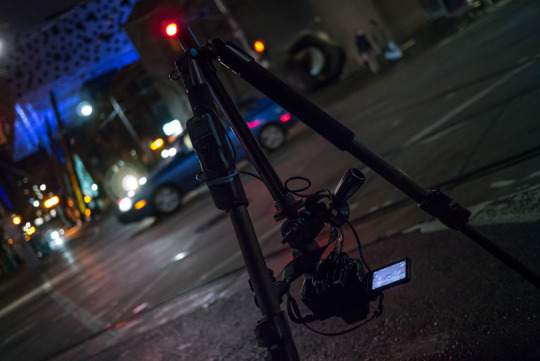
I started shooting with three lenses mostly. My GH2’s kit lens the Lumix G 14-42mm. An old Canon FD 50mm f1.8 ($5 on Craigslist) and an old Minolta MD 70-210mm F4 ($20 on Kijiji). After having my first GH2 and some lenses stolen, I had to start buying the cheapest I could find. I got a cheap Best Buy branded tripod, a $20 intervalometer from eBay and that’s all I would take with me when going out.
I later bought the Lumix 14mm f2.5 pancake and a Rokinon fisheye 7.5mm lens. They quickly became my favourite for time lapses. I couldn’t afford the Lumix wide-angle 7-14mm lens. But if I removed the fisheye distortion from the Rokinon I would get very decent results and even wider pictures than with the Lumix which were perfect for cropping after having stabilized the shot. Besides, the Lumix is $1200 while I paid $200 for the fisheye.
The pancake was good for portability and it was way sharper than the kit lens. Even wide open at f2.5.
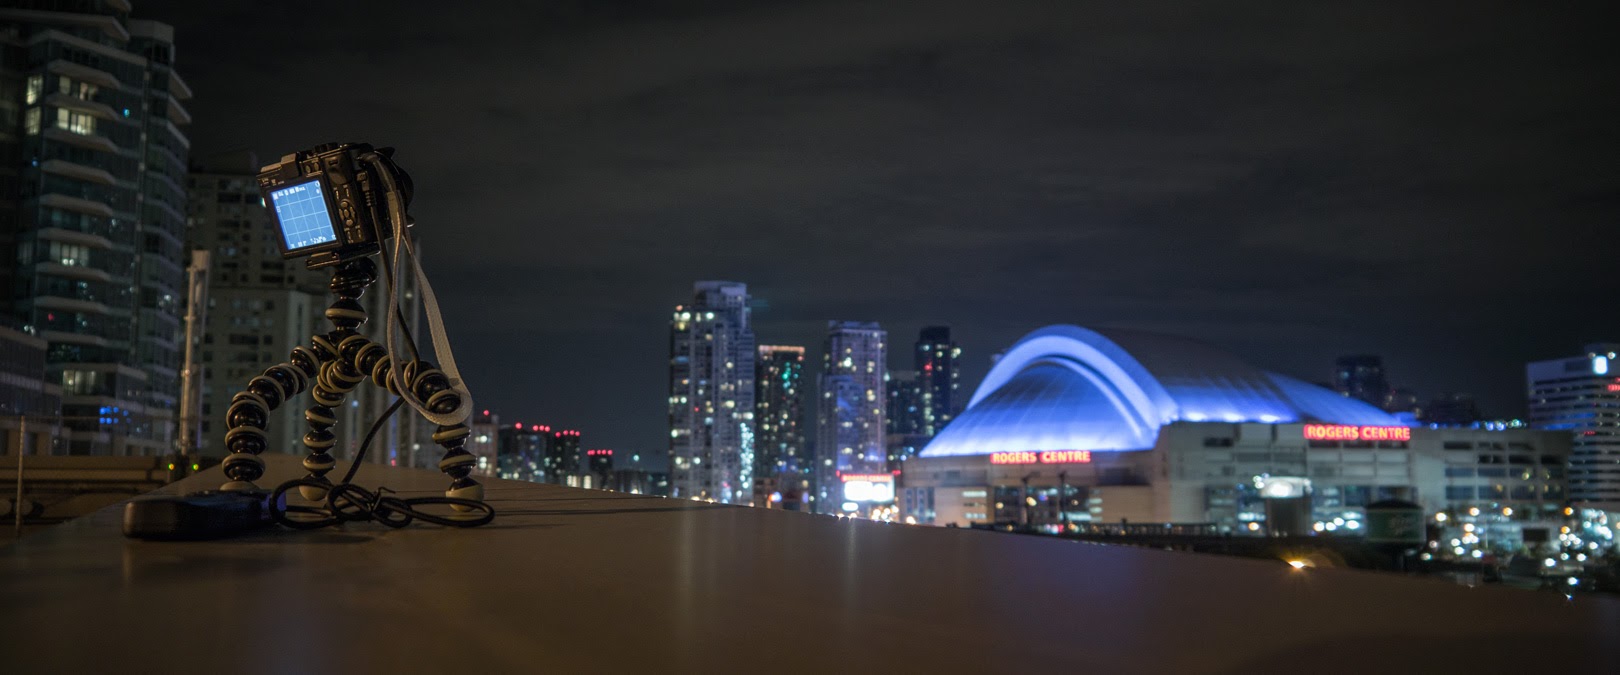
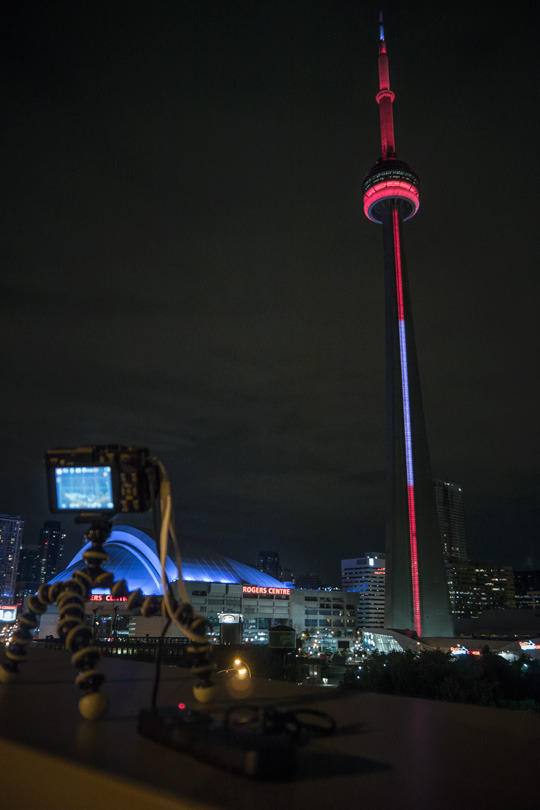
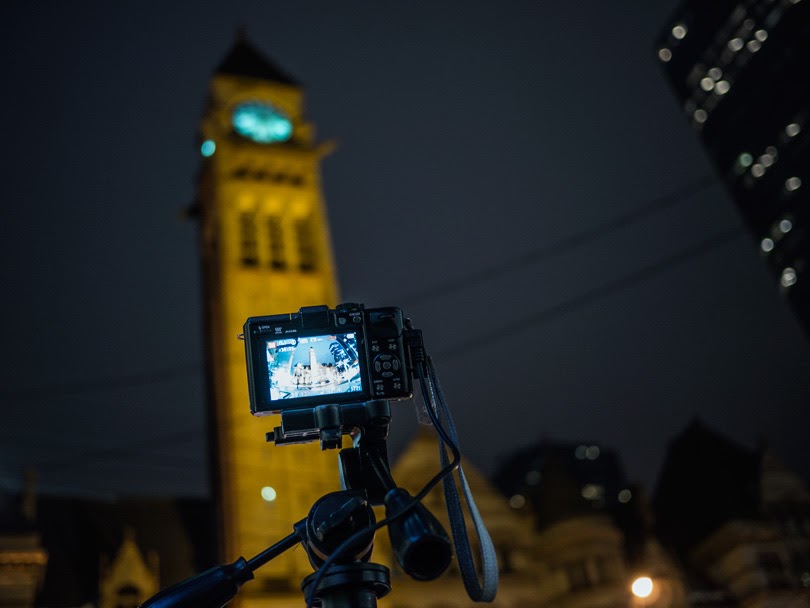
I didn’t use any sliders, I didn’t have access to any rooftops or any drones. It was all a tripod and me. I wanted to achieve the best that I could with what I had. Shooting from balconies and some shots from the SkyPod at the CN tower was the highest I could shoot from.
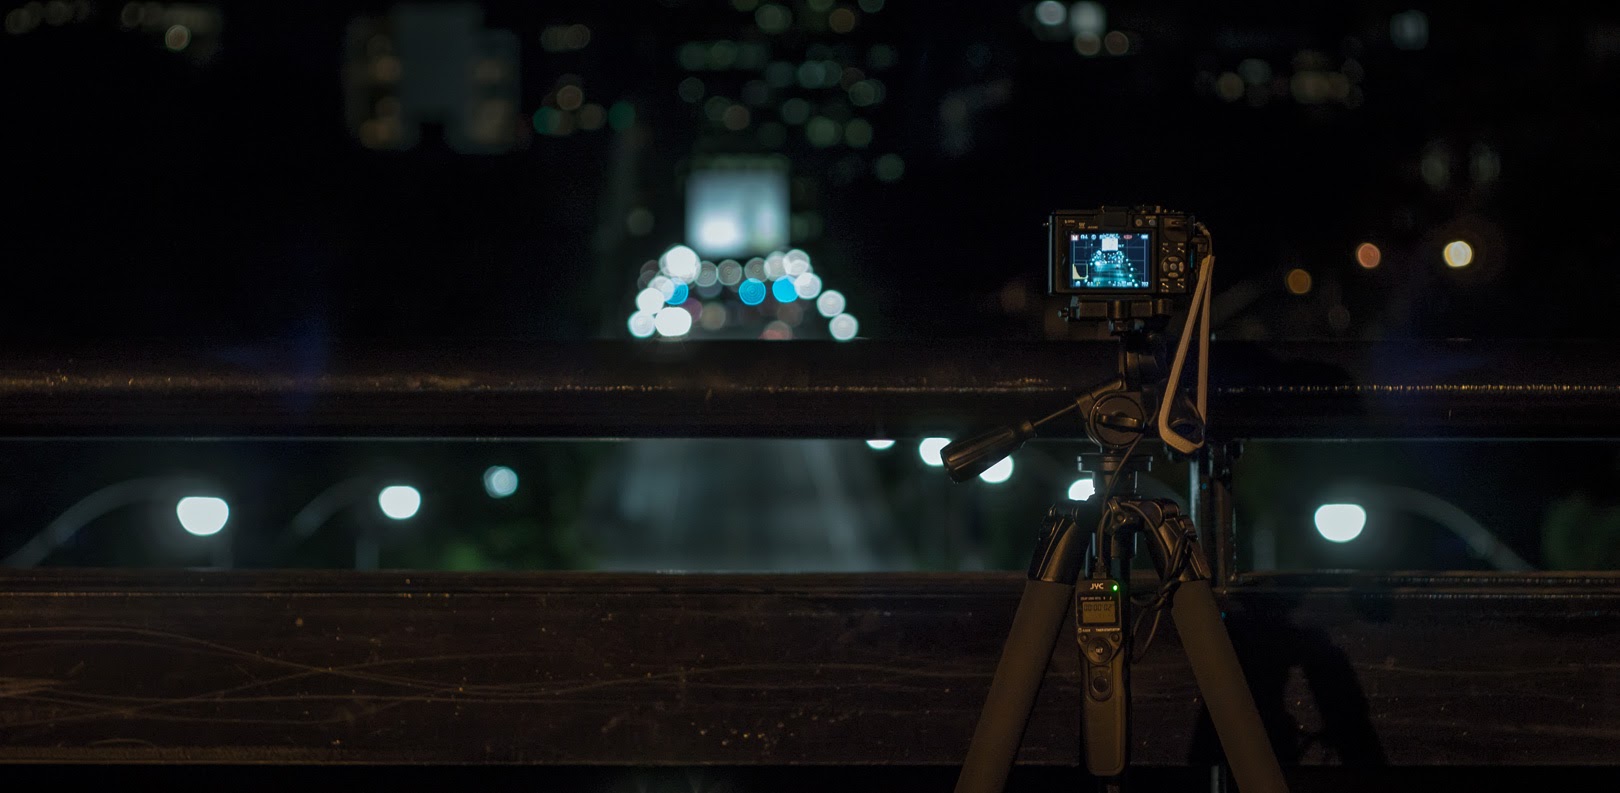
Drawing some markers with chalk or using patterns on the ground as reference was what I could use to try to take pictures evenly from each other and go in a straight path. I really hated my tripod. While it is really smooth and awesome for panning, its legs are independent and would fold when moving the tripod after each picture. I had to be really careful when moving it since it would affect the height and angle of the camera. At the same time I had to be moving really quickly so I couldn’t be as careful. I should’ve bought a tripod with one of those triangles in the centre that keep the legs locked in place, but when I bought it it was for video use and it’s great for that.
I think in general I did 4 types of shooting.
Static. The camera on a tripod just shooting every N seconds. The easiest.
Fake slider. Moving the tripod sideways with the camera always pointing forward.
Fake slider with target. Moving the tripod sideways and moving the camera on each picture to always keep the subject in the centre.
Hyper lapse. While the two methods above are considered hyperlapses (especially when moving a really long distance, longer than a slider could allow), this one is the one with the typical hyperlapse look. Walking forward with the tripod after each picture, most of the times pointing at something.
As with everything, I started learning more the more I shot. I learned that the ideal interval speed is the fastest the memory can write (unless is some of those day-to-night long timelapses). If the pictures are too separated from each other in time the clouds move way too fast, people and cars that are in a picture are gone in the next one or aren’t visible enough time for the brain to register their motion. It all looks best when we can see where something comes from and goes to. And if you think the timelapse is too slow you can always speed it up in post.
My first timelapses were pictures about 10 seconds apart. That’s a lot of time, but that’s what I needed for moving the tripod, centering the camera on an object and if necessary move away so my shadow wouldn’t be in frame. Using a really slow shutter speed helps in this situations. It will create long streaks of light on cars and lots of motion blur on people or moving objects which helps blend the pictures together, but then again using a, let’s say, 3-second exposure means I would have only 7 seconds or less to move.
As I got better and knew how to move fast, I started taking pictures every 3 seconds. That was the fastest that my memory card could write raw without pausing. Shooting JPEGs I could shoot at any speed. I actually shot a couple of shots as JPEGs when I was in the CN Tower since they were about to close and I needed to shoot as much as possible. I hated those JPEGs.
I use manual controls always. It is very important to do that as to not have any changes in focus, exposure or white balance.

Stabilizing the shots was another step which required lots of time. Since I was moving the tripod manually there was lots of differences from the pictures in a sequence. I read online how most of the people use the Warp Stabilizer from After Effects to stabilize their hyperlapses. While it is pretty good, I didn’t like that it doesn’t give you much control. It would effectively do the stabilizing but it would look like it was being sped up or down when I accidentally left big gaps or I didn’t move enough distance with my tripod.
I had to resort to Nuke. That’s what I use at work to stabilize shots and I already have developed a few good techniques. It gives you way more control and is actually pretty simple. I would first need to do a camera track of each shot and use that camera to do the stabilization. After that, with a 2D tracker I could further remove any smaller shakes or just use it to stabilize a subject in the shot. That being said, I did use After Effects in like two shots after having stabilized in Nuke. It would be like a second-pass stabilization for those cases where I took the pictures terribly and I need some warping on the edges. I plan to make some tutorials later explaining how I stabilize in Nuke.
Colour grading is what I started the earliest with and the thing that I was still tweaking at the very end. Colouring is something that started to fascinate me when I started working in movies and is something that I still don’t feel very good at. Also my problem is that I try so many different looks and is hard to just stick to one. I’ve seen night pictures and videos of other people where everything looks so bright that it almost looks like daylight. That’s not what how our vision sees at night (even though it looks pretty cool). Movies usually have a darker contrasty look but at the same time I really like the flat look. I had pretty cool moving clouds in some shots but would be less visible if I made everything darker and crunchier. I had to find a balance. Then there’s the colour temperature. Do I want it to feel colder or warmer? The less light the less colour there is. How far could I desaturate the images? While I tried to make it look cinematic I tried not make it too stylized. I wanted it to look natural, like being there.
I started the processing in Adobe Camera Raw. I saved out a preset that I would apply to the pictures, tweak that a little bit per shot and then in Nuke I would give it the final colour. No fancy DaVinci Resolve or anything like that.
I did not use any compositing tricks like projections. I wanted to use real pictures. For instance the shot of the full moon behind the CN Tower could’ve been easily done with a good picture of the moon and just animating its position and masking out the tower. I had to underexpose a lot to be able to capture the details in the moon. I couldn’t do bracketing since I didn’t have enough time between the pictures. The moon (and earth) moves unbelievably fast. I ended up with a really dark and noisy image, even the raw couldn’t save it, but at least I captured the real thing.
I did, however, retime a few shots. There were a couple of shots that were too fast that didn’t fit with the pacing of the other shots or the music. I had to slow them down a little. And there were also some shots which were too short. I did slow down those too. Besides that and removing a few lens flares or hot pixels that’s all the compositing involved.
The music is something that also made me to delay the whole thing. I couldn’t start the edit until I had a song that I would use. I would put a few shots together and try to find the order, but it the end it was useless since I didn’t know what song to use. My friends have this band called Dii Edwards and they recently launched their first disc with great songs. I liked particularly this one song with smooth music and no lyrics which worked perfectly for my timelapse. It’s called Reflect. I asked Dii if I could use their song and she gladly agreed. Check out their awesome disc. They have pretty good music. Check it out here!
Many of the shots were longer but I cut them to the beat of the music. It also helped not too make it too long, then it would get boring.
All of the shots were rendered at 4K UHD (3840×2160). I had to upload the 1080p version to Vimeo but I will probably upload the 4K version to YouTube at some point, even though I hate their compression. The less compressed version can be downloaded from Vimeo as h264.
Happy Canada Day!